I have developed many crates before, but I haven't published them on crates.io until I developed notify-me (see my last post for details). Here, I take notify-me as an example to record how to perfect crate details and publish it to crates.io.
Log in crates.io
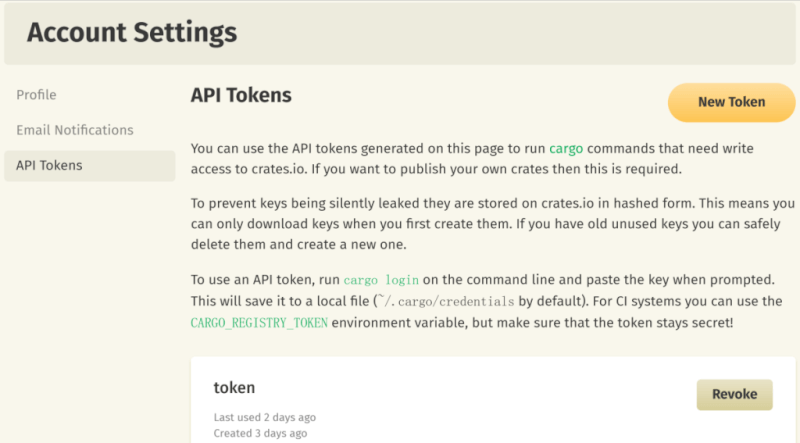
First things first, you’ll need an account on crates.io to acquire an API token. To do so, visit the home page and log in via a GitHub account (required for now). After this, visit your Account Settings page and create a API token if you don't have one before.
Then run the cargo login command.
cargo login
Then at the prompt put in the token specified.
please paste the API Token found on https://crates.io/me below
abcdefghijklmnopqrstuvwxyz012345
This command will inform Cargo of your API token and store it locally in your ~/.cargo/credentials.toml. Note that this token is a secret and should not be shared with anyone else. If it leaks for any reason, you should revoke it immediately.
Perfect the details of your crate
Specify metadata
Check out the metadata you can specify in Cargo.toml to ensure your crate can be discovered more easily.
- name: The crate names on crates.io are allocated on a first-come-first-serve basis. Once a crate name is taken, it cannot be used for another crate.
- version:
The current version of your crate, e.g.,
0.1.0. - description: A short blurb about the package.
- keywords: An array of strings that describe this package. This can help when searching for the package on a registry.
- categories: An array of strings of the categories this package belongs to. crates.io has a maximum of 5 categories. Each category should match one of the strings available at https://crates.io/category_slugs, and must match exactly.
- authors:
e.g.,
authors = ["name <no-reply@rust-lang.org>"] - homepage: A URL to a site that is the home page for your package.
- repository: a URL to the source repository for your package.
- ducumentation: If no URL is specified in the manifest file, crates.io will automatically link your crate to the corresponding docs.rs page.
- readme: the path to a file in the package root that contains general information about the package.
- license or license-file:
The
licensefield contains the name of the software license that the package is released under. Thelicense-filefield contains the path to a file containing the text of the license. If you want to specify multiple licenses, you can useANDandORoperators, e.g.,license = "MIT OR Apache-2.0". Usually, you can specifylicense = MITand create a text fileLICENSE(see choose MIT License).
Here is an example of my metadata in Cargo.toml:
[package]
name = "notify-me"
version = "0.2.0"
edition = "2021"
description = "Send notifications to email or communication software, such as WeChat."
keywords = ["notify", "notifier", "message", "email", "wechat"]
categories = ["web-programming"]
authors = ["Shuocheng Wang <wangshch5@outlook.com>"]
homepage = "https://github.com/ShuochengWang/notify-me"
repository = "https://github.com/ShuochengWang/notify-me"
readme = "README.md"
license = "MIT"
And my package layout would be:
.
├── Cargo.lock
├── Cargo.toml
├── .gitignore
├── README.md (corresponds to the `readme` above)
├── LICENSE (corresponds to the `license` above)
├── src/
├── tests/ (if have integration tests)
├── examples/ (if have examples)
└── benches/ (if have benchmarks)
Write documentation
Documentation is very important for a public crate.
The standard Rust distribution ships with a tool called rustdoc.
Hence we can write and generate documentation easily.
See The rustdoc book for more details.
After writing ducumentation, we can generate documentation using this command:
cargo doc
And we can view the generated documentation by --open option. The doc will be opened in your browser:
cargo doc --open
Outer documentation
The /// syntax is used to document the item present after it. It's called outer documentation.
We use this syntax to document functions / structs / traits and so on.
For example, this is my documentation for a struct:
/// Notifier for email.
/// One EmailNotifier can only notify one corresponding mailbox.
pub struct EmailNotifier {
    ...
}
And this is my documentation for a function:
    /// # Arguments
    ///
    /// * `smtp_host` - SMTP server using TLS connections, e.g., `smtp.gmail.com`
    /// * `smtp_username` - Your SMTP username, e.g., `sender@gmail.com`
    pub fn new(
        smtp_host: &str,
        smtp_username: &str,
        ...
    }
Inner documentation
The //! syntax is used to document the item it is present inside. It's called inner documentation.
We use this syntax to document the entire crate.
For example, this is my inner documentation at the beginning of /src/lib.rs.
//! A Rust library for sending notifications.
//!
//! Send notifications to email or communication software, such as WeChat.
//! It is very suitable for developers to receive notifications of
//! their software on mobile phones.
//!
//! ## Features
//! - Send notifications to your email
//! - Send notifications to your WeChat
//!
//! ## Example
//! To use this library, add the following to your `Cargo.toml`:
//! ```toml
//! [dependencies]
//! notify-me = "0.2"
//! ```
//!
//! ### Send notifications to WeChat
//!
//! Note that, this crate use [xtuis](https://xtuis.cn/) to implement WeChat notifications.
//! Hence you have to first follow the WeChat official account of [xtuis](https://xtuis.cn/) and get the `token`.
//!
//! ```no_run
//! use notify_me::{Notify, WechatNotifier};
//!
//! let notifier = WechatNotifier::new("your xtuis token").unwrap();
//! notifier.notify("notification title", "notification content").unwrap();
//! ```
Package a crate
The next step is to package up your crate and upload it to crates.io.
It is recommended that you first run cargo package to ensure there aren't any warnings or errors before publishing.
It will generate a .crate file.
cargo package
Then, you can check the generated .crate file to ensure you didn't accidentally package up large assets that are not required to build your package:
cargo package --list
After package and check, you can publish your crate:
cargo publish
Publish a new version
If you want to publish a new version of an existing crate, you can change the version value in cargo.toml manifest.
Then run cargo publish as described above to upload a new version.
Check your published crate
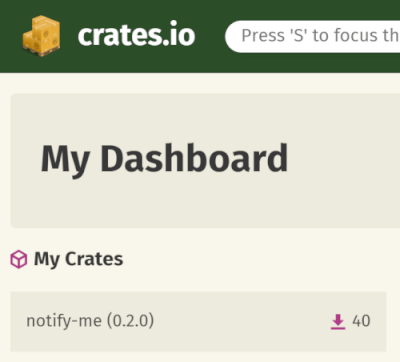
In crates.io, you can find your published crate. Especially, in crate.io Dashboard:
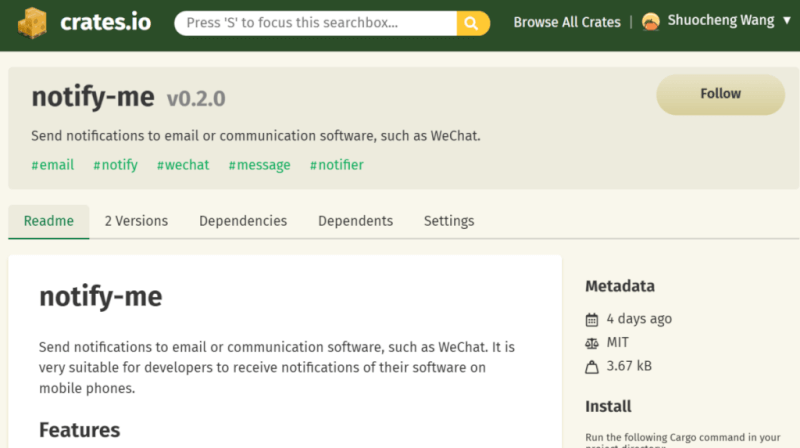
And you can check your crate page in crates.io, it looks like:
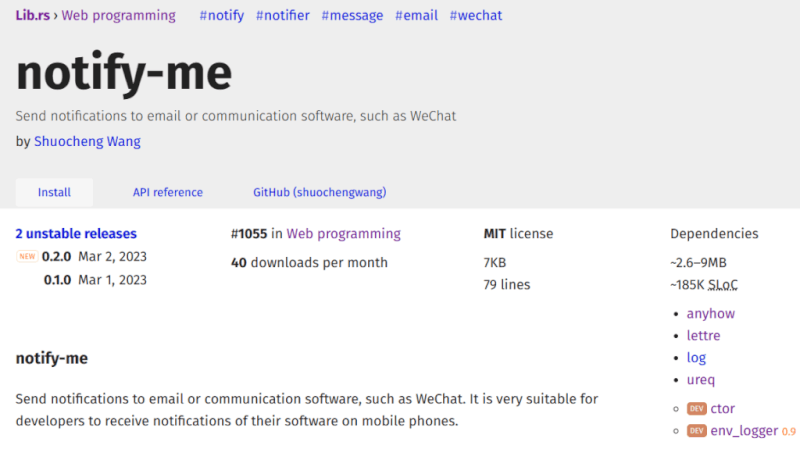
And you can find your crate in lib.rs, However, lib.rs isn't updated in real time. You may not see it until a few days after you publishing.